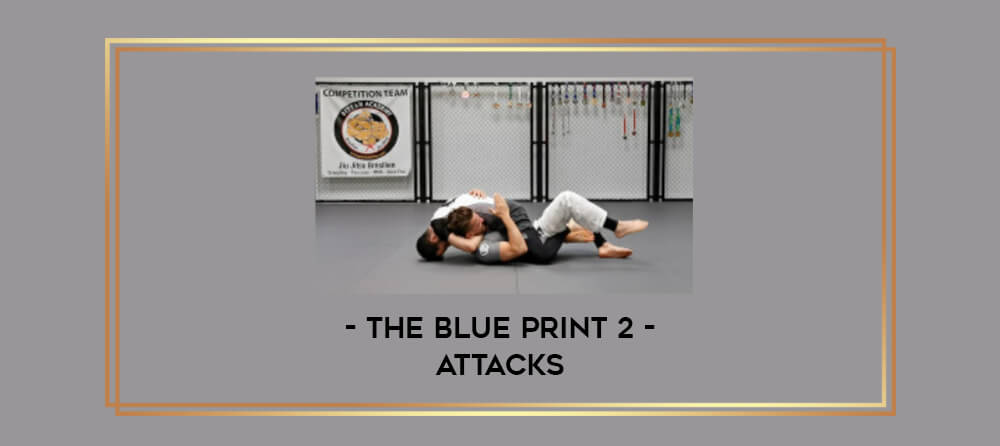
The Blue Print 2 – Attacks
Course Description
Archive : The Blue Print 2 – Attacks Digital Download
Salepage : The Blue Print 2 – Attacks
Delivery : Online With Any Device
You learned the fundamentals with The Blue Print. Now you’ll go to the next level!
“The Blue Print 2 – Attacks” covers all the systems and tactics you need to know to become a submission artist.
The spirit of Jiu-Jitsu is to get the submission. Sadly, you cannot submit anyone good with isolated moves. You need a systemic approach to link your offenses and get the breakthrough.
This Blue Print will teach you to become a weapon.
Gi lovers, do not fear! All the techniques and tactics in “The Blue Print Attacks” work the same in the Gi.
If you read the blog, you know of the 80/20 Principle. The principle states that 80% of our results come from 20% of our efforts.
The Blue Print 2 is that twenty percent. Nowadays, you see new instructionals with fancy techniques and endless variations of moves every week! But when you look at high-level competitors, they never use them. They stick to a limited number of techniques, and they dominate!
The Blue Print 2 is a collection of techniques and tactics that will account for 80% (even more actually!) of your submissions!
Content:
Open Guard – Top
Open Guard – Top – Tactic
Force the Supine Guard
Counter Shin to Shin – Early Response
Counter Shin to Shin – Late Response
Toreando
Toreando to North South
Leg Drag
Steal inside Foot Position
Body Lock
Head Quarter Position
Head Quarter Position – Leg Outside
Knee Through
Folding Pass
Knee Cut
Legs Pummeling
X-Pass
Hip Switch
SLX – Top
SLX Pass
Closed Guard
Breaking the Closed Guard
Rubber Guard
Breaking the Rubber Guard
Open Guard – Bottom
Open Guard – Bottom – Tactic
Foot Harassment
Double Ko-Uchi Gari
Hip Heist – Arm Drag
Shin to Shin
Shin to Shin – Tactic
Enter SLX
Enter SLX – Secondary Leg
SLX – Standing Opponent
SLX – Standing Opponent – Tactic
SLX Sweep
Forward Push
X-Guard Sweep
Reverse X
SLX – Opponent on the Ground
SLX – Opponent on the Ground – Tactic
Outside Heelhook
Follow-up to the Back
Straight Ankle Lock
Cross Ashi
Cross Ashi – Tactic
Inside Heelhook
Back – Standing
Back – Standing – Tactic
The Broomstick
Foot Block
The Eagle Dive
Back
Back – Tactic
Trap the Arm
Neck Penetration System
Rear Naked Strangle
Rear Triangle
Armbar
Switch Side
Tripod and Sit Back
Turtle
Turtle – Tactic
Break him Down to a Hip
Near Side Entry
Far Side Entry
Mount
Mount – Tactic
The Ratchet
The Vise
Back Take
Mounted Armbar
Mounted Triangle
Kata Gatame
Side Control
Side Control – Tactic
Top Pressure
Rolling Back Take
Darce
North South
North South – Tactic
North South Choke
Armbar
Kimura
Back Take
Single Leg on the Mat
Single Leg on the Mat – Tactic
Mounted Triangle
Side Triangle
To The Front Headlock Position
Kimura Grip
T-Kimura Position
T-Kimura Position – Tactic
To the Back
Cross Kimura
Butterfly
Butterfly – Tactic
Sumi Gaeshi
Seated Guillotine
Mounted Guillotine
Hip Heist
2on1 to Trap Triangle
Front Triangle
3/4 Juji
Shoulder Crunch Sumi Gaeshi
Arm Drag to the Back
Arm Drag to SLX
Double Under Elevation
SLX – Kneeling Opponent
SLX – Kneeling Opponent – Tactic
Outside Heelhook – Kneeling
Front Headlock Position
Front Headlock Position – Tactic
Guillotine
Knee Block
Craddle to Outside Heelhook


